Canada Jason Youngberg Review WISTIO
Video Script:
Hey guys. Today this is a review of Wistio tubeless valves. As you can see here, I’ve got 4 different kinds and they are the 34 mm alloy valve, the same length 34 mm brass valve, 40 mm American classic style alloy valve, and another different style 40 mm I want to call this Shimano style because it matches the style of the Shimano valves that I have.
Alright, so the weight of the valves first of all is the reason we are going to be interested in these because they are so much lighter than the stands or other alternatives that you can get at your local bike shop. Here we are first of all, for the 34 mm alloy, 3 grams. That is fantastically light. I don’t have a stands valve to compare but it would be in the similar range to a brass valve; around 7 grams.
So when we go up to a 40 mm valve, in the American classic style; 4 grams. Bordering on 4 grams. The 40 mm Shimano style with a little less rubber at the base, 3 grams, so these are very light which is why we want to use them.
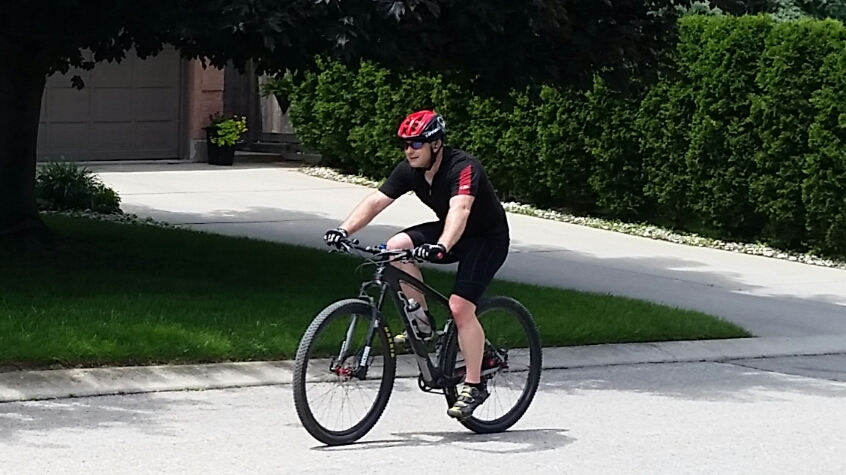
I’ve got a set mounted on my bike here. I have been running these for about a month and have had no problem, so today I’m going to add some extra sealant. I raced last night and my tire’s a bit low, a bit soft, probably about 5 psi in there right now. So, it needs a little top up of sealant and hopefully that’ll do it. I am going to use the Wistio valve removal tool and put some extra sealant in here.
So, let’s see how that goes. Alright I’ve got orange seal, tubeless sealant, and the Wistio valve tool. you can see it there. So, I don’t even have to take the tire off my bike to do this, which is great. No need to break the bead seal on the tire. Okay, so I just let most of the air out there so there’s no blast when I pump this on. Sorry, I’m multi-tasking here we go. So you just lock that valve tool on, and a few turns and the whole valve stand should come out of this. Alright, here we go. Valve stem removed. (hope you can see that there.)
Alright we’re not gunna lose that, put that right down here. Give the sealant a good shake. Get all the particles in the sealant well agitated and distributed through the liquid. Okay I just pop that on the valve, there we go, how much do we got there? A little bit more. Okay, that’s it. I put about an extra ounce into the tire. This has to happen probably once or twice a summer for me. Okay, I guess my valve wasn’t quite tight.
Okay, we are ready to put some air in. Didn’t take much to tighten it up with that tool. It was quite simple. So I’ll air this up and I don’t even need a compressor this time. (airing it up). Alright, it’s holding air nicely. There we go, just spin the tires to spread some of that sealant around. The oil will get spread around quite nicely in a few minutes when I go for a ride. Alright so this was the Wistio tubeless mountain bike valves. These are fantastically light, and that’s why you want them.